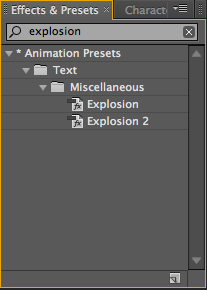
 - On the right hand side of the interface this search box can be found.
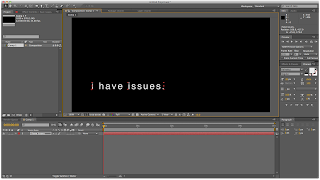
- Once the preset has been applied, the properties can be expanded and edited to personalise. Pressing U is the shortcut to reveal all animated properties.

1 - Shy switch - layer is still in composition but not in the layer palette.
2- Comp layer - continuously rasterize - for Illustrator files.
3- Quality - to adjust the quality of one or more layers.
4- Effects - turn off.
5- Frame blending - for video.
6- Motion blur - adding a blur to moving shape layer.
Creating a pendulum motion
- Create a solid layer.
- Add a circular mask.
- Change the anchor point using the pan behind tool.
- Adjust the rotation over a series of key frames.
- To make the animation faster, select keyframes, hold Alt and drag together.
Using acceleration and deceleration
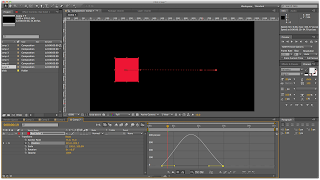
- Using the Keyframe Assistant and using Easy Ease In can decelerate an objects speed, and using Easy Ease out can accelerate an objects speed.
- Alternatively, using the speed graph can help you control the same function.
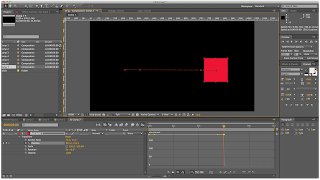
This shows constant speed
This shows a varying speed
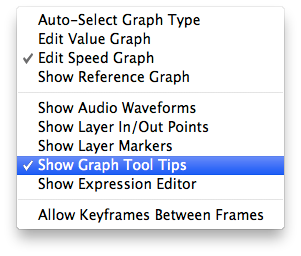
Make sure the graph options are set to editing speed and not values.
Accelerate/Decelerate from Gemma Byrne on Vimeo.


No comments:
Post a Comment