Reviewing an InDesign File:
There are 8 problems to be found in the document...
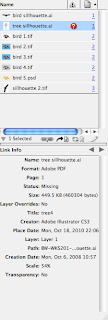
1) Missing link
In the link panel it also shows missing links:

2) Page 1 does not extend to the bleed:
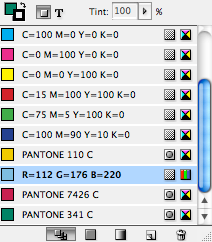
3) One RGB swatch and the document has been produced to be printed.
It can be changed to CMYK by double clicking on the swatch to bring up the options menu:
4) 7 printing plates instead of the 5 that there should be.
7) An image has been scaled down in InDesign which is not good practice.
8) Another one of the images has an error, it is in RGB colour mode, meaning it won't print the same as it looks, to change this the original must be edited, which can be done by clicking Edit Original in InDesign. This opens Photoshop, where the colour mode can be adjusted, once Save has been clicked it should update in the InDesign document.
9) The 'back cover' has been applied with the registration key, meaning it will appear on every page.
Printing an InDesign document:
1) Sending the InDesign file with all the links and fonts packaged together:
This shows the preflight dialogue box which highlights any errors and summarises the document:
InDesign files can be exported to PDFs:
Getting files to open with Photoshop:


No comments:
Post a Comment