 Change colour profile to CMYK in Image menu:
Same colour in CMYK profile:


Original in RGB:

CMYK Mode:

To view Gamut Warning:

This shows the colours out of range:

Proof Colours to see RGB in CMYK while still in RGB Mode:

File name changes: (.../CMYK)
 Ways to apply colour - Swatches:
 Colour picker:

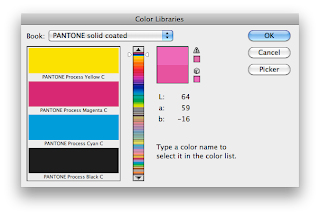
From Colour Picker, selecting, Colour Libraries:

Creating a Duotone image:
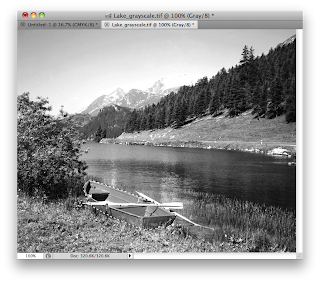
(Original)
 Select Image, Mode, Duotone:
 Click the black square to pick your Spot Colour:
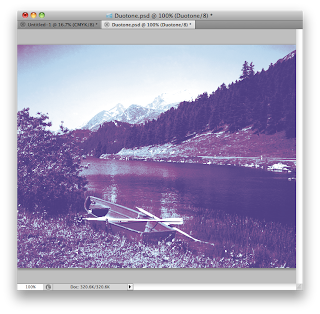
Apply the Colour to the image:

To adjust the way the colour is applied, click the square next to the black one with the diagonal line through it, here you can adjust the curves:

 Adjusting the curves, again changes the ways and amounts in which the colour is applied:
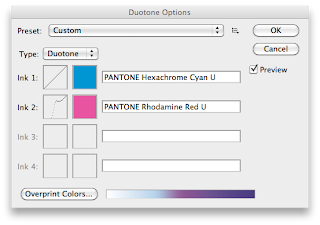
And here is the final image:
 Creating a Spot Colour image from selection:
 Go to New Spot Channel, in the Channel menu:
 Creating a Spot Colour image from selection:
Make the selection on the image:
 Go to New Spot Channel, in the Channel menu:
 Select colour:
Here is the colour applied, normal painting effects can be applied too:
 Adjusting the line in the Spot Channel can make the boat look more natural and lose the hard edge:
A large brush with the lowest hardness can take away the hard edge:

And the Spot Channel will now look like this:

And with the Grey channel back in view, the boat looks a lot more natural:
 And for the finishing touch, to repaint the oar:
No comments:
Post a Comment